
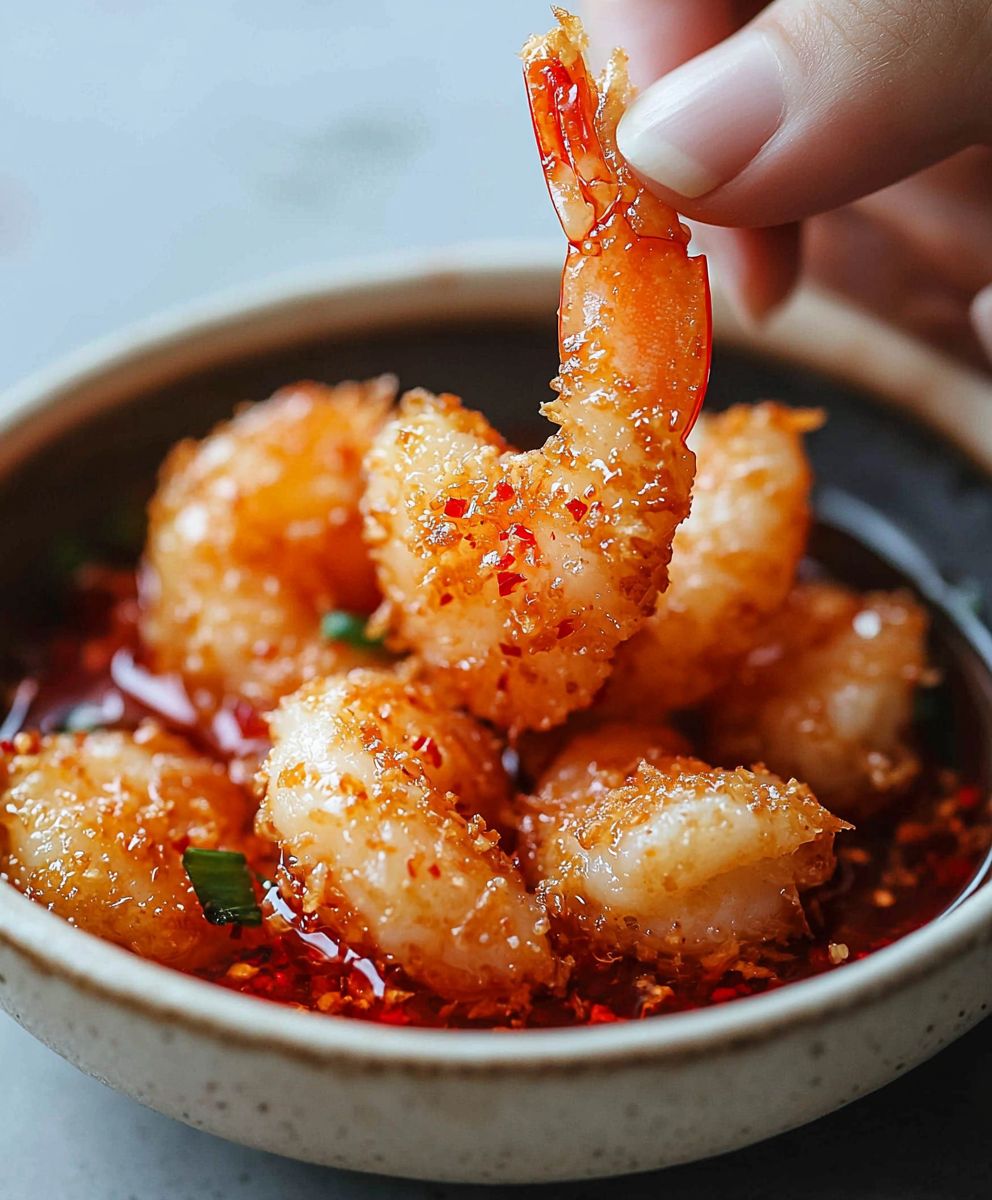
Coconut Shrimp: Just the name conjures up images of tropical breezes, sun-kissed beaches, and the satisfying crunch of perfectly golden-brown deliciousness, doesn’t it? I know I’m instantly transported to paradise! But you don’t need a plane ticket to enjoy this restaurant-favorite appetizer. With my easy-to-follow recipe, you can create mouthwatering coconut shrimp right in your own kitchen.
While the exact origins of coconut shrimp are a bit hazy, its popularity exploded in the United States thanks to its irresistible combination of sweet and savory flavors. The crispy, slightly sweet coconut coating perfectly complements the tender, juicy shrimp, creating a textural and taste sensation that’s hard to resist. It’s a dish that feels both indulgent and approachable, making it a crowd-pleaser for any occasion.
People adore coconut shrimp for so many reasons! The delightful contrast between the crispy coconut and the succulent shrimp is a major draw. Plus, it’s incredibly versatile. Serve it as an appetizer with a tangy dipping sauce, add it to tacos for a tropical twist, or even enjoy it as a light and satisfying meal. And let’s be honest, who can resist that satisfying crunch? Get ready to experience the magic of homemade coconut shrimp you won’t be disappointed!
Ingredients:
- For the Shrimp:
- 1 pound large shrimp (21-25 count), peeled and deveined, tails on
- 1/2 teaspoon salt
- 1/4 teaspoon black pepper
- 1/4 teaspoon garlic powder
- 1/4 teaspoon onion powder
- For the Flour Mixture:
- 1/2 cup all-purpose flour
- 1/4 teaspoon salt
- 1/4 teaspoon black pepper
- 1/4 teaspoon garlic powder
- 1/4 teaspoon onion powder
- For the Egg Mixture:
- 2 large eggs
- 2 tablespoons milk or water
- For the Coconut Coating:
- 1 1/2 cups sweetened shredded coconut
- 1/2 cup panko breadcrumbs
- For Frying:
- Vegetable oil or canola oil, for frying
- Optional Dipping Sauce:
- 1/2 cup mayonnaise
- 2 tablespoons orange marmalade
- 1 tablespoon honey
- 1 teaspoon lime juice
- 1/4 teaspoon sriracha (or more, to taste)
Preparing the Shrimp:
Okay, let’s get started! First things first, we need to prep our shrimp. This is super important for getting that perfect flavor and texture.
- Pat the Shrimp Dry: Take your peeled and deveined shrimp (tails on, remember they make a great handle!), and pat them completely dry with paper towels. This is crucial! Excess moisture will prevent the flour and coconut from sticking properly. Trust me, you don’t want soggy coconut shrimp.
- Season the Shrimp: In a medium bowl, toss the dried shrimp with 1/2 teaspoon of salt, 1/4 teaspoon of black pepper, 1/4 teaspoon of garlic powder, and 1/4 teaspoon of onion powder. Make sure each shrimp is evenly coated. This simple seasoning adds a fantastic base flavor that complements the coconut perfectly.
Setting Up the Breading Station:
Now, let’s get our breading station ready. This is where the magic happens, so organization is key!
- Prepare the Flour Mixture: In a shallow dish, whisk together 1/2 cup of all-purpose flour, 1/4 teaspoon of salt, 1/4 teaspoon of black pepper, 1/4 teaspoon of garlic powder, and 1/4 teaspoon of onion powder. This seasoned flour will help the egg mixture adhere to the shrimp.
- Prepare the Egg Mixture: In another shallow dish, whisk together 2 large eggs and 2 tablespoons of milk or water. The milk or water thins the eggs slightly, making them easier to coat the shrimp.
- Prepare the Coconut Coating: In a third shallow dish, combine 1 1/2 cups of sweetened shredded coconut and 1/2 cup of panko breadcrumbs. The sweetened coconut provides that signature coconut flavor, while the panko breadcrumbs add extra crunch. Mix them well to ensure an even distribution.
Breading the Shrimp:
Alright, time to get our hands a little dirty! This is the most important part of the recipe, so pay close attention.
- Dredge in Flour: Take one shrimp at a time and dredge it in the flour mixture, making sure it’s completely coated. Shake off any excess flour. This creates a dry surface for the egg to stick to.
- Dip in Egg: Next, dip the floured shrimp into the egg mixture, ensuring it’s fully submerged. Let any excess egg drip off.
- Coat in Coconut: Finally, transfer the egg-coated shrimp to the coconut mixture. Press the shrimp firmly into the coconut, making sure it’s completely covered on all sides. Don’t be shy you want a generous coating of coconut!
- Repeat: Repeat the breading process with the remaining shrimp.
- Chill (Optional but Recommended): For best results, place the breaded shrimp on a baking sheet lined with parchment paper and chill them in the refrigerator for at least 30 minutes. This helps the coating adhere better during frying and prevents it from falling off. You can even chill them for a couple of hours!
Frying the Shrimp:
Now for the fun part frying! This is where the shrimp turns golden brown and crispy.
- Heat the Oil: Pour enough vegetable oil or canola oil into a large, deep skillet or pot to reach a depth of about 1-2 inches. Heat the oil over medium-high heat until it reaches 350-375°F (175-190°C). You can use a deep-fry thermometer to monitor the temperature. If you don’t have a thermometer, you can test the oil by dropping a small piece of bread into it. If the bread turns golden brown in about 30-60 seconds, the oil is ready.
- Fry in Batches: Carefully add the breaded shrimp to the hot oil in batches, being careful not to overcrowd the skillet. Overcrowding will lower the oil temperature and result in soggy shrimp.
- Cook Until Golden Brown: Fry the shrimp for 2-3 minutes per side, or until they are golden brown and cooked through. The internal temperature of the shrimp should reach 145°F (63°C).
- Remove and Drain: Use a slotted spoon or spider to remove the fried shrimp from the oil and transfer them to a wire rack lined with paper towels to drain off any excess oil.
Making the Optional Dipping Sauce:
While the shrimp are draining, let’s whip up a delicious dipping sauce to take them to the next level!
- Combine Ingredients: In a small bowl, whisk together 1/2 cup of mayonnaise, 2 tablespoons of orange marmalade, 1 tablespoon of honey, 1 teaspoon of lime juice, and 1/4 teaspoon of sriracha (or more, to taste).
- Adjust to Taste: Taste the sauce and adjust the ingredients to your liking. If you want it sweeter, add more honey. If you want it spicier, add more sriracha. If you want it tangier, add more lime juice.
- Chill (Optional): For best results, chill the dipping sauce in the refrigerator for at least 30 minutes to allow the flavors to meld.
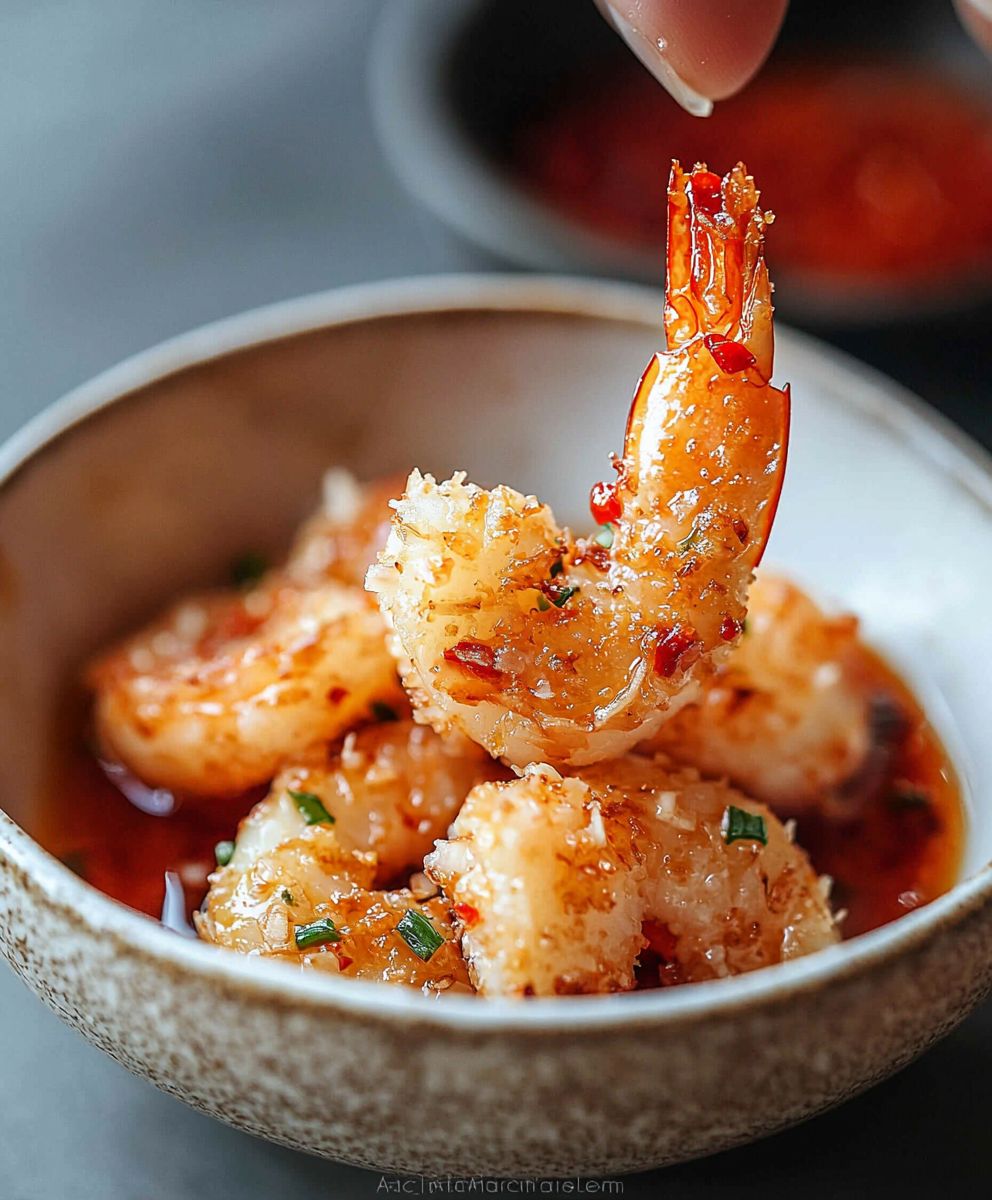
Serving the Coconut Shrimp:
Finally, it’s time to enjoy your hard work! These coconut shrimp are best served immediately while they’re still hot and crispy.
- Arrange on a Platter: Arrange the fried coconut shrimp on a platter.
- Serve with Dipping Sauce: Serve the shrimp with the optional dipping sauce on the side.
- Garnish (Optional): Garnish with fresh cilantro or lime wedges for a pop of color and flavor.
Enjoy! These coconut shrimp are perfect as an appetizer, snack, or even a light meal. They’re sure to be a crowd-pleaser!
Tips for Perfect Coconut Shrimp:
- Don’t Overcrowd the Pan: Frying in batches is key to maintaining the oil temperature and ensuring crispy shrimp.
- Use Fresh Oil: Fresh oil will give you the best flavor and prevent the shrimp from tasting greasy.
- Don’t Overcook: Overcooked shrimp will be tough and rubbery. Cook them just until they’re golden brown and cooked through.
- Experiment with Flavors: Feel free to experiment with different seasonings in the flour mixture and dipping sauce.
- Air Fryer Option: For a healthier alternative, you can air fry the breaded shrimp at 400°F (200°C) for 8-10 minutes, flipping halfway through. Spray the shrimp with cooking spray before air frying to help them brown.

Leave a Comment