
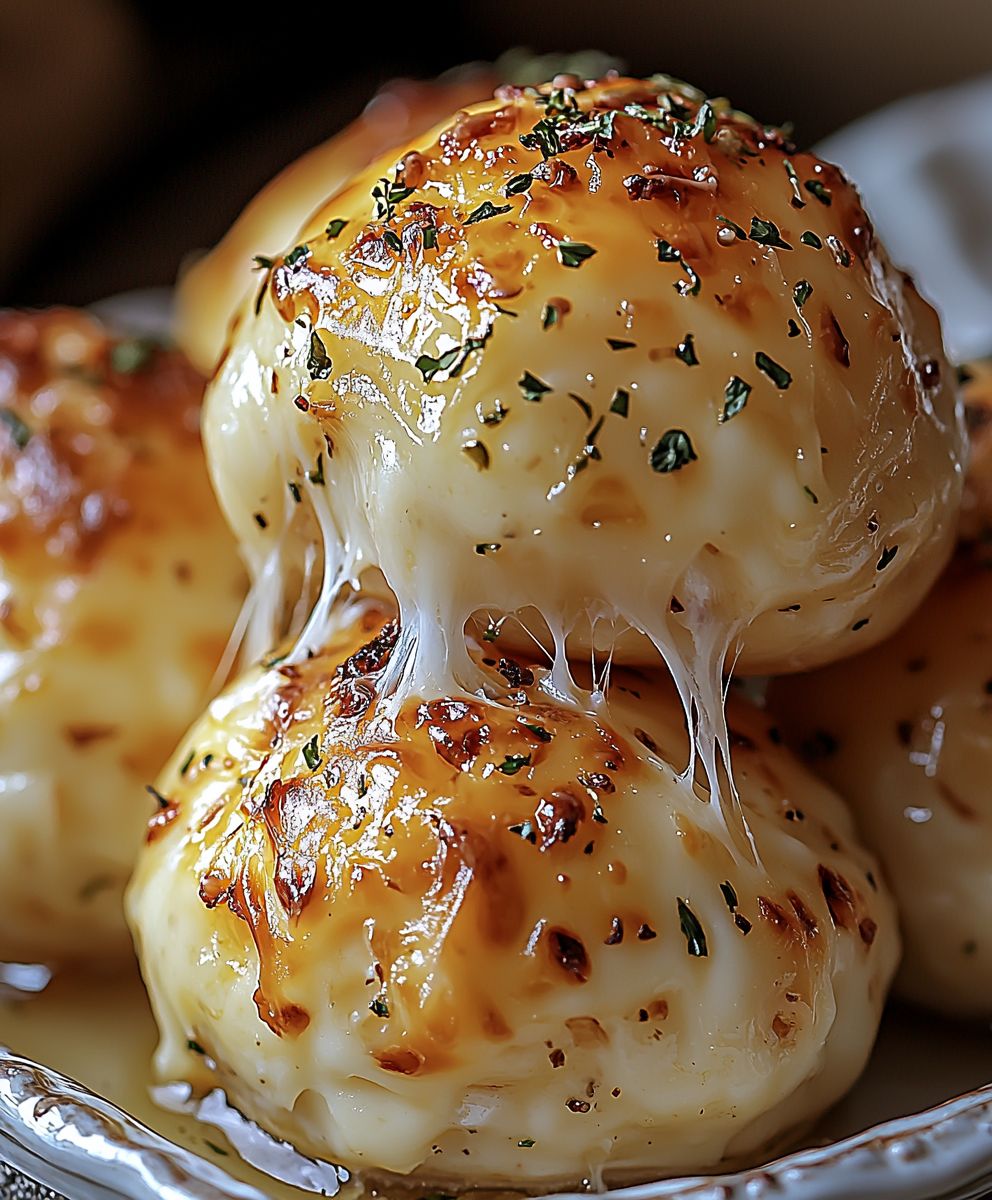
Garlic Butter Cheese Bombs: Prepare to meet your new favorite appetizer! Imagine biting into a warm, golden, pillowy ball of dough, oozing with melted cheese and infused with the rich, savory flavors of garlic butter. Sounds heavenly, right? These aren’t just any ordinary rolls; they’re an explosion of flavor in every single bite, guaranteed to disappear in minutes at any gathering.
While the exact origins of these cheesy delights are a bit hazy, the concept of combining bread, cheese, and garlic butter is a timeless classic enjoyed across many cultures. Think of Italian garlic knots, or even the humble cheese-filled breadsticks Garlic Butter Cheese Bombs are a delicious evolution of these comforting staples. They take the best elements of each and combine them into one irresistible package.
What makes these bombs so universally loved? It’s a combination of factors. The soft, slightly chewy texture of the dough perfectly complements the gooey, melted cheese inside. The garlic butter adds a depth of flavor that’s both comforting and incredibly addictive. Plus, they’re surprisingly easy to make, making them perfect for a quick weeknight treat or an impressive appetizer for your next party. Get ready to experience a flavor sensation that will have everyone begging for the recipe!
Ingredients:
- For the Dough:
- 3 ½ cups all-purpose flour, plus more for dusting
- 1 packet (2 ¼ teaspoons) active dry yeast
- 1 teaspoon granulated sugar
- 1 teaspoon salt
- 1 ¼ cups warm milk (about 110°F)
- ¼ cup unsalted butter, melted
- 1 large egg, lightly beaten
- For the Garlic Butter:
- ½ cup unsalted butter, melted
- 4 cloves garlic, minced
- 2 tablespoons fresh parsley, chopped
- ½ teaspoon garlic powder
- ¼ teaspoon salt
- ¼ teaspoon black pepper
- For the Cheese Filling:
- 8 ounces mozzarella cheese, shredded
- 4 ounces cream cheese, softened
- ½ cup Parmesan cheese, grated
- 1 teaspoon Italian seasoning
- For Brushing:
- 1 tablespoon milk
Preparing the Dough:
- Activate the Yeast: In a large bowl, combine the warm milk, sugar, and yeast. Stir gently and let it sit for 5-10 minutes, or until the yeast is foamy. This step is crucial to ensure your yeast is alive and active, which will give you a light and airy dough. If it doesn’t foam, your yeast might be old, and you’ll need to start over with fresh yeast.
- Combine Wet and Dry Ingredients: Add the melted butter, egg, and salt to the yeast mixture. Whisk well to combine all the wet ingredients. Now, gradually add the flour, one cup at a time, mixing with a wooden spoon or spatula after each addition.
- Knead the Dough: Once the dough starts to come together, turn it out onto a lightly floured surface. Knead the dough for 8-10 minutes, or until it becomes smooth and elastic. If the dough is too sticky, add a little more flour, one tablespoon at a time, until it’s manageable. Don’t overdo it with the flour, though, or your cheese bombs will be tough.
- First Rise: Place the kneaded dough in a lightly oiled bowl, turning to coat. Cover the bowl with plastic wrap or a clean kitchen towel. Let it rise in a warm place for 1-1.5 hours, or until doubled in size. This is where the magic happens! The yeast is working hard to create those air pockets that will make our cheese bombs fluffy.
Making the Garlic Butter:
- Melt the Butter: In a small saucepan or microwave-safe bowl, melt the butter. Be careful not to burn it!
- Add Garlic and Spices: Add the minced garlic, parsley, garlic powder, salt, and pepper to the melted butter. Stir well to combine. The aroma at this point is simply divine!
- Simmer (Optional): For a more intense garlic flavor, you can gently simmer the garlic butter over low heat for a few minutes. Just be careful not to burn the garlic, as it will become bitter.
- Set Aside: Set the garlic butter aside to cool slightly while you prepare the cheese filling and assemble the cheese bombs.
Preparing the Cheese Filling:
- Combine Cheeses: In a medium bowl, combine the shredded mozzarella cheese, softened cream cheese, and grated Parmesan cheese. Make sure your cream cheese is properly softened, or it will be difficult to mix.
- Add Italian Seasoning: Add the Italian seasoning to the cheese mixture and stir well to combine. This adds a lovely herbaceous note to the filling.
- Mix Thoroughly: Mix all the ingredients until they are evenly distributed. The cheese filling should be well combined and ready to go.
Assembling the Cheese Bombs:
- Punch Down the Dough: Once the dough has doubled in size, gently punch it down to release the air. This helps to redistribute the yeast and create a more even texture.
- Divide the Dough: Turn the dough out onto a lightly floured surface. Divide the dough into 12 equal pieces. I find it easiest to use a kitchen scale to ensure they are all the same size, but you can also eyeball it.
- Shape the Dough: Roll each piece of dough into a ball. Then, flatten each ball into a circle, about 4 inches in diameter. You can use your fingers or a rolling pin to do this.
- Fill the Dough: Place a generous spoonful (about 2-3 tablespoons) of the cheese filling in the center of each dough circle. Don’t be shy with the cheese!
- Seal the Cheese Bombs: Bring the edges of the dough circle up and over the cheese filling, pinching them together to seal. Make sure the cheese is completely enclosed, or it will leak out during baking.
- Place on Baking Sheet: Place the sealed cheese bombs, seam-side down, on a baking sheet lined with parchment paper. This prevents them from sticking and makes cleanup a breeze.
- Second Rise: Cover the cheese bombs with a clean kitchen towel and let them rise for another 30 minutes. This second rise will make them even fluffier.
Baking the Cheese Bombs:
- Preheat Oven: Preheat your oven to 375°F (190°C). Make sure your oven is properly preheated before baking, or the cheese bombs may not rise properly.
- Brush with Milk: Brush the tops of the cheese bombs with milk. This will give them a beautiful golden-brown color.
- Bake: Bake for 18-20 minutes, or until the cheese bombs are golden brown and cooked through. Keep an eye on them, as baking times may vary depending on your oven.
- Brush with Garlic Butter: As soon as the cheese bombs come out of the oven, brush them generously with the prepared garlic butter. This is the final touch that takes them over the top!
- Serve Immediately: Serve the garlic butter cheese bombs immediately while they are warm and gooey. They are best enjoyed fresh out of the oven!
Tips and Variations:
- Herbs: Feel free to experiment with different herbs in the garlic butter. Rosemary, thyme, or oregano would all be delicious additions.
- Cheese: You can also use different types of cheese in the filling. Provolone, Monterey Jack, or even a little bit of cheddar would all work well.
- Spicy: For a spicy kick, add a pinch of red pepper flakes to the garlic butter or the cheese filling.
- Make Ahead: You can prepare the dough ahead of time and store it in the refrigerator for up to 24 hours. Just let it come to room temperature before shaping and filling the cheese bombs.
- Freezing: You can also freeze the unbaked cheese bombs. Place them on a baking sheet and freeze until solid. Then, transfer them to a freezer bag. When ready to bake, let them thaw overnight in the refrigerator and then bake as directed.

Conclusion:
And there you have it! These Garlic Butter Cheese Bombs are truly irresistible, and I’m confident they’ll become a family favorite in your home, just like they have in mine. The combination of the soft, pillowy dough, the gooey, melted cheese, and that intensely flavorful garlic butter is simply divine. It’s a symphony of textures and tastes that will leave you wanting more. But why is this recipe a must-try? Beyond the sheer deliciousness, it’s incredibly versatile and surprisingly easy to make. Forget complicated baking projects that require hours in the kitchen. This recipe is straightforward, using readily available ingredients, and the results are always impressive. Whether you’re a seasoned baker or a complete novice, you can confidently whip up a batch of these bombs and impress your friends and family. These Garlic Butter Cheese Bombs are perfect for so many occasions! Serve them as an appetizer at your next party, bring them to a potluck, or simply enjoy them as a comforting snack on a cozy night in. They’re also a fantastic addition to any brunch spread. Imagine serving these warm, cheesy delights alongside scrambled eggs, bacon, and fresh fruit pure bliss! Looking for serving suggestions? I love to serve them with a side of marinara sauce for dipping, but they’re equally delicious on their own. A sprinkle of fresh parsley or a dusting of Parmesan cheese adds a touch of elegance. And don’t be afraid to get creative with variations! Want to add a little kick? Incorporate some red pepper flakes into the garlic butter. Craving something savory? Mix in some cooked bacon bits or chopped ham. For a vegetarian option, try adding some sautéed mushrooms or spinach to the cheese filling. The possibilities are endless! You could even experiment with different types of cheese Gruyere, provolone, or even a spicy pepper jack would all be fantastic. I truly believe that everyone should experience the joy of biting into a warm, cheesy, garlicky bomb of deliciousness. That’s why I’m so excited for you to try this recipe. I’ve poured my heart into perfecting it, and I know you’ll love it as much as I do. So, what are you waiting for? Gather your ingredients, preheat your oven, and get ready to embark on a culinary adventure. I promise you won’t regret it. And remember, the key to truly amazing Garlic Butter Cheese Bombs is to not skimp on the garlic butter! It’s what gives them that incredible flavor that everyone raves about. Once you’ve made them, I’d absolutely love to hear about your experience. Did you try any variations? What did your family and friends think? Share your photos and stories in the comments below. I can’t wait to see your creations and hear all about your cheesy, garlicky adventures! Happy baking! Print
Garlic Butter Cheese Bombs: The Ultimate Cheesy Garlic Bread Recipe
- Total Time: 155 minutes
- Yield: 12 cheese bombs 1x
Description
Fluffy, cheesy, and garlicky pull-apart rolls perfect as an appetizer or side dish. These homemade cheese bombs are bursting with flavor and are sure to be a crowd-pleaser!
Ingredients
- 3 ½ cups all-purpose flour, plus more for dusting
- 1 packet (2 ¼ teaspoons) active dry yeast
- 1 teaspoon granulated sugar
- 1 teaspoon salt
- 1 ¼ cups warm milk (about 110°F)
- ¼ cup unsalted butter, melted
- 1 large egg, lightly beaten
- ½ cup unsalted butter, melted
- 4 cloves garlic, minced
- 2 tablespoons fresh parsley, chopped
- ½ teaspoon garlic powder
- ¼ teaspoon salt
- ¼ teaspoon black pepper
- 8 ounces mozzarella cheese, shredded
- 4 ounces cream cheese, softened
- ½ cup Parmesan cheese, grated
- 1 teaspoon Italian seasoning
- 1 tablespoon milk
Instructions
- Activate the Yeast: In a large bowl, combine the warm milk, sugar, and yeast. Stir gently and let it sit for 5-10 minutes, or until the yeast is foamy.
- Combine Wet and Dry Ingredients: Add the melted butter, egg, and salt to the yeast mixture. Whisk well to combine. Gradually add the flour, one cup at a time, mixing after each addition.
- Knead the Dough: Turn the dough out onto a lightly floured surface. Knead for 8-10 minutes, until smooth and elastic. Add more flour, 1 tablespoon at a time, if too sticky.
- First Rise: Place dough in a lightly oiled bowl, turning to coat. Cover and let rise in a warm place for 1-1.5 hours, or until doubled.
- Make the Garlic Butter: Melt butter in a small saucepan or microwave. Add minced garlic, parsley, garlic powder, salt, and pepper. Stir well. Simmer gently for a few minutes for a more intense flavor (optional). Set aside to cool slightly.
- Prepare the Cheese Filling: In a medium bowl, combine shredded mozzarella, softened cream cheese, and grated Parmesan cheese. Add Italian seasoning and stir well.
- Punch Down and Divide: Once the dough has doubled, gently punch it down. Turn it out onto a lightly floured surface and divide into 12 equal pieces.
- Shape and Fill: Roll each piece into a ball, then flatten into a 4-inch circle. Place a generous spoonful (2-3 tablespoons) of cheese filling in the center.
- Seal and Place: Bring the edges of the dough up and over the cheese, pinching to seal completely. Place seam-side down on a baking sheet lined with parchment paper.
- Second Rise: Cover the cheese bombs with a clean kitchen towel and let them rise for another 30 minutes.
- Preheat Oven: Preheat oven to 375°F (190°C).
- Brush with Milk: Brush the tops of the cheese bombs with milk.
- Bake: Bake for 18-20 minutes, or until golden brown and cooked through.
- Brush with Garlic Butter: Immediately brush generously with the prepared garlic butter.
- Serve: Serve immediately while warm and gooey.
Notes
- Ensure your yeast is active by checking for foam after mixing with warm milk and sugar. If it doesn’t foam, use fresh yeast.
- Be careful not to add too much flour when kneading, as this can make the cheese bombs tough.
- Simmering the garlic butter briefly enhances the garlic flavor, but be careful not to burn the garlic.
- Make sure your cream cheese is properly softened for easy mixing.
- Ensure the cheese bombs are completely sealed to prevent cheese from leaking during baking.
- Experiment with different herbs in the garlic butter, such as rosemary, thyme, or oregano.
- Use different types of cheese in the filling, such as provolone, Monterey Jack, or cheddar.
- Add a pinch of red pepper flakes to the garlic butter or cheese filling for a spicy flavor.
- Prepare the dough ahead of time and store it in the refrigerator for up to 24 hours. Let it come to room temperature before shaping and filling.
- Freeze unbaked cheese bombs on a baking sheet until solid, then transfer to a freezer bag. Thaw overnight in the refrigerator before baking.
- Prep Time: 45 minutes
- Cook Time: 20 minutes


Leave a Comment