
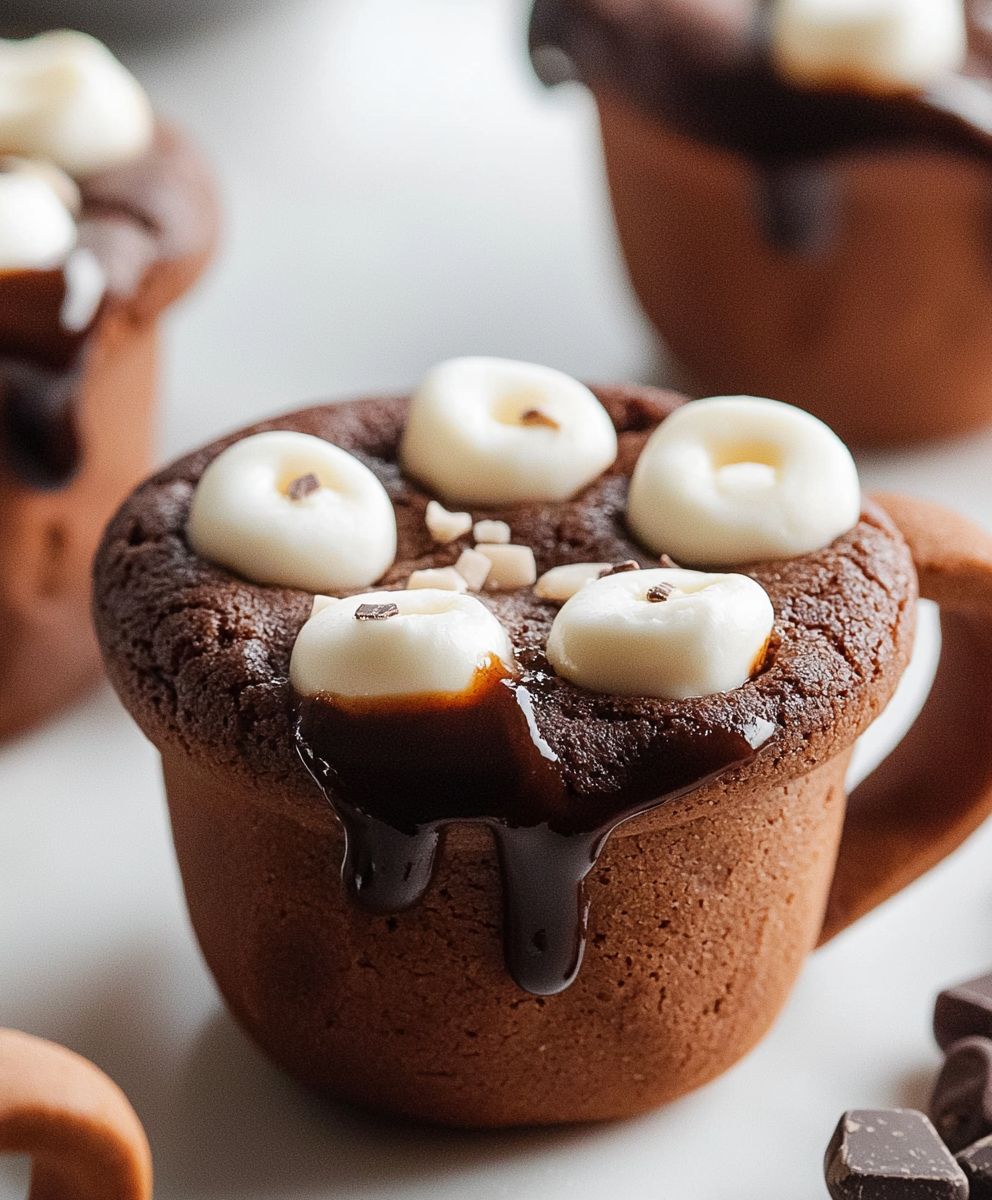
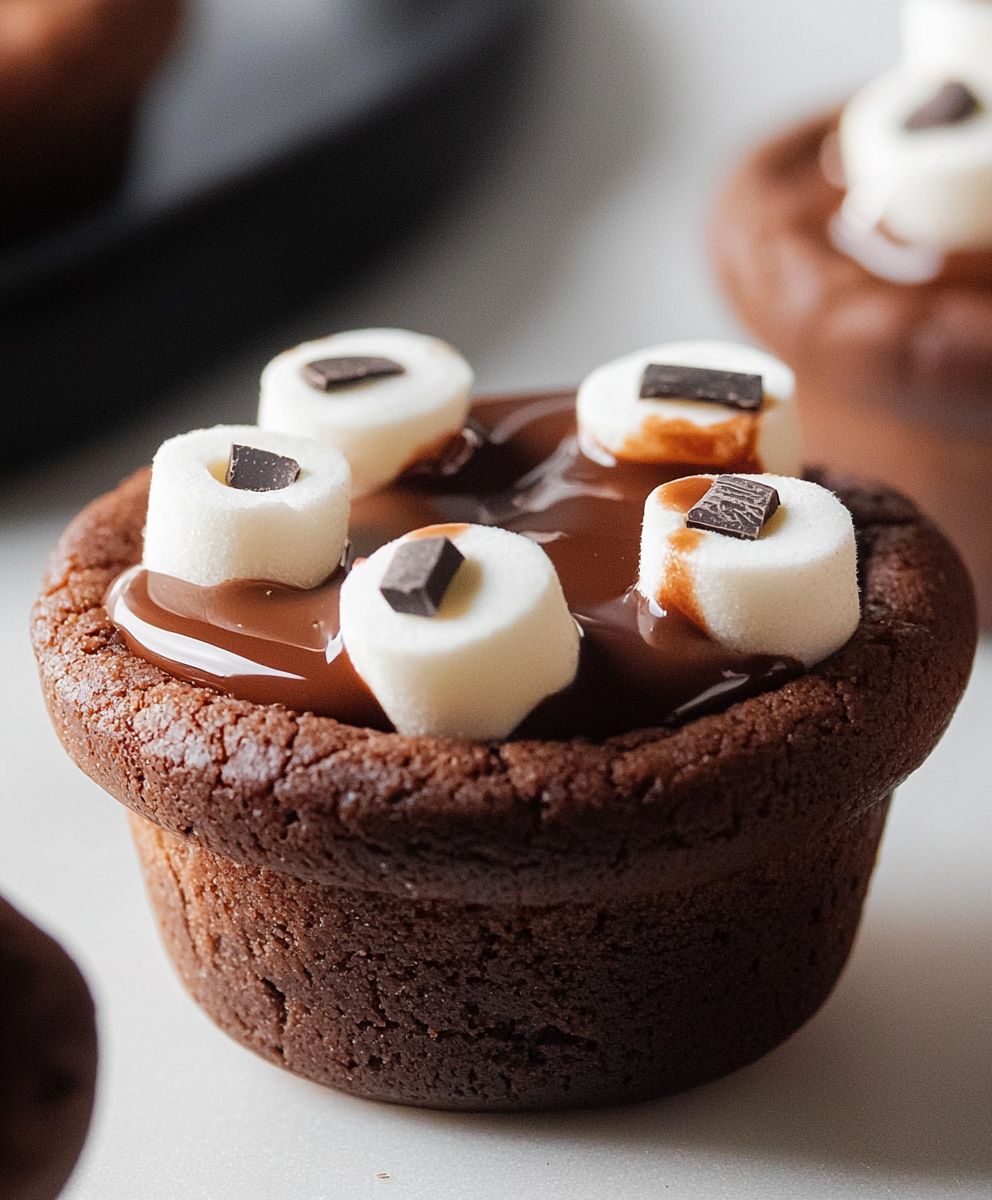
Hot Cocoa Cookie Cups are the ultimate treat that combines the rich, comforting flavors of hot cocoa with the delightful crunch of a cookie. Imagine sinking your teeth into a warm, chocolatey cup filled with creamy marshmallow goodnessit’s a dessert that brings back childhood memories of cozy winter nights spent by the fire. This recipe has its roots in the classic hot cocoa we all know and love, but it elevates the experience by transforming it into a fun, bite-sized treat that everyone can enjoy.
People adore Hot Cocoa Cookie Cups not just for their irresistible taste and texture, but also for their convenience. They are perfect for holiday gatherings, cozy family nights, or even as a sweet surprise for a loved one. The combination of a soft cookie base and a luscious filling creates a delightful contrast that keeps you coming back for more. Join me as we dive into this delicious recipe that is sure to warm your heart and satisfy your sweet tooth!
Ingredients:
- 1 cup unsalted butter, softened
- 1 cup granulated sugar
- 1 cup brown sugar, packed
- 2 large eggs
- 1 teaspoon vanilla extract
- 3 cups all-purpose flour
- 1 teaspoon baking soda
- 1/2 teaspoon salt
- 1 cup semi-sweet chocolate chips
- 1 cup mini marshmallows
- 1/2 cup hot cocoa mix (plus extra for dusting)
- Whipped cream (for topping)
- Chocolate shavings or sprinkles (for garnish)
Preparing the Dough
Lets get started on these delightful Hot Cocoa Cookie Cups! First, we need to prepare the cookie dough. Follow these steps:
- In a large mixing bowl, cream together the softened butter, granulated sugar, and brown sugar. Use an electric mixer on medium speed for about 2-3 minutes until the mixture is light and fluffy.
- Add the eggs, one at a time, mixing well after each addition. Then, stir in the vanilla extract until fully combined.
- In a separate bowl, whisk together the all-purpose flour, baking soda, salt, and hot cocoa mix. This will ensure that all the dry ingredients are evenly distributed.
- Gradually add the dry mixture to the wet ingredients, mixing on low speed until just combined. Be careful not to overmix, as this can make the cookies tough.
- Fold in the semi-sweet chocolate chips using a spatula or wooden spoon. This adds a delicious chocolatey flavor to our cookie cups!
Chilling the Dough
Now that we have our dough ready, its important to chill it for a bit. This helps the cookies maintain their shape while baking.
- Cover the mixing bowl with plastic wrap or transfer the dough to an airtight container.
- Refrigerate the dough for at least 30 minutes. This step is crucial, so dont skip it!
Preparing the Muffin Tin
While the dough is chilling, lets prepare our muffin tin. This is where the magic happens!
- Preheat your oven to 350°F (175°C).
- Grease a standard muffin tin with non-stick cooking spray or line it with muffin liners. I prefer using spray for easy removal later.
Shaping the Cookie Cups
Once the dough is chilled, its time to shape our cookie cups!
- Take the chilled dough out of the refrigerator. Using a cookie scoop or your hands, scoop out about 1.5 tablespoons of dough for each cookie cup.
- Roll the dough into a ball and place it in the center of each muffin tin cup.
- Using your fingers or the back of a measuring spoon, gently press the dough down and up the sides of the muffin tin to create a cup shape. Make sure to leave a little space at the top for the marshmallows.
- Repeat this process until all the muffin cups are filled with dough.
Baking the Cookie Cups
Now its time to bake these beauties!
- Place the muffin tin in the preheated oven and bake for 10-12 minutes, or until the edges are lightly golden. The centers may look slightly underbaked, but they will continue to cook as they cool.
- Once baked, remove the muffin tin from the oven and let it cool for about 5 minutes.
- While the cookie cups are still warm, gently press a few mini marshmallows into the center of each cup. This will create that classic hot cocoa experience!
- Allow the cookie cups to cool in the tin for an additional 10 minutes before transferring them to a wire rack to cool completely.
Assembling the Hot Cocoa Cookie Cups
Now that our cookie cups are cool, its time to assemble and decorate them!
Conclusion:
In summary, these Hot Cocoa Cookie Cups are an absolute must-try for anyone looking to indulge in a delightful treat that combines the comforting flavors of hot cocoa with the joy of cookies. The rich chocolatey goodness, paired with the marshmallow topping, creates a cozy experience thats perfect for any occasion, whether its a chilly winter evening or a festive gathering with friends and family. For serving suggestions, I love to pair these cookie cups with a warm mug of hot cocoa or a scoop of vanilla ice cream on the side for an extra indulgent dessert. You can also get creative with variations by adding peppermint extract for a minty twist or using different types of chocolate chips to customize the flavor to your liking. I encourage you to give this recipe a try and experience the joy of baking these delightful Hot Cocoa Cookie Cups. Once youve made them, Id love to hear about your experience! Share your thoughts, any variations you tried, or even a picture of your delicious creations. Lets spread the love for these cookie cups together! Happy baking! PrintHot Cocoa Cookie Cups: The Ultimate Winter Treat Recipe
- Total Time: 42 minutes
- Yield: 24 cookie cups 1x
Description
Indulge in these delightful Hot Cocoa Cookie Cups, featuring a soft and chewy cookie base filled with mini marshmallows and topped with whipped cream, perfect for a cozy treat!
Ingredients
- 1 cup unsalted butter, softened
- 1 cup granulated sugar
- 1 cup brown sugar, packed
- 2 large eggs
- 1 teaspoon vanilla extract
- 3 cups all-purpose flour
- 1 teaspoon baking soda
- 1/2 teaspoon salt
- 1 cup semi-sweet chocolate chips
- 1 cup mini marshmallows
- 1/2 cup hot cocoa mix (plus extra for dusting)
- Whipped cream (for topping)
- Chocolate shavings or sprinkles (for garnish)
Instructions
- In a large mixing bowl, cream together the softened butter, granulated sugar, and brown sugar. Use an electric mixer on medium speed for about 2-3 minutes until the mixture is light and fluffy.
- Add the eggs, one at a time, mixing well after each addition. Then, stir in the vanilla extract until fully combined.
- In a separate bowl, whisk together the all-purpose flour, baking soda, salt, and hot cocoa mix. This will ensure that all the dry ingredients are evenly distributed.
- Gradually add the dry mixture to the wet ingredients, mixing on low speed until just combined. Be careful not to overmix, as this can make the cookies tough.
- Fold in the semi-sweet chocolate chips using a spatula or wooden spoon.
- Cover the mixing bowl with plastic wrap or transfer the dough to an airtight container and refrigerate for at least 30 minutes.
- Preheat your oven to 350°F (175°C) and grease a standard muffin tin with non-stick cooking spray or line it with muffin liners.
- Take the chilled dough out of the refrigerator. Scoop out about 1.5 tablespoons of dough for each cookie cup, roll into a ball, and place it in the center of each muffin tin cup.
- Press the dough down and up the sides of the muffin tin to create a cup shape, leaving space at the top for the marshmallows.
- Bake for 10-12 minutes, or until the edges are lightly golden. The centers may look slightly underbaked.
- Remove from the oven and let cool for about 5 minutes. Press mini marshmallows into the center of each cup while still warm.
- Allow to cool in the tin for an additional 10 minutes before transferring to a wire rack to cool completely.
- Top each cookie cup with whipped cream, sprinkle with chocolate shavings or sprinkles, and dust with hot cocoa mix if desired. Serve immediately.
Notes
- For a richer chocolate flavor, you can substitute some of the all-purpose flour with cocoa powder.
- Feel free to experiment with different types of chocolate chips or add nuts for added texture.
- These cookie cups can be stored in an airtight container at room temperature for up to 3 days.
- Prep Time: 30 minutes
- Cook Time: 12 minutes


Leave a Comment