
Old Fashioned Fudge is a delightful treat that brings back memories of cozy kitchens and family gatherings. This rich, creamy confection has been a beloved dessert for generations, often associated with holiday celebrations and special occasions. The history of fudge dates back to the late 19th century, when it was first made in the United States, quickly becoming a staple in candy shops and home kitchens alike. What I love most about Old Fashioned Fudge is its perfect balance of sweetness and texture; it melts in your mouth while leaving a satisfying richness that keeps you coming back for more.
People adore this classic recipe not just for its taste, but also for its convenience. With just a few simple ingredients, you can whip up a batch of Old Fashioned Fudge in no time, making it an ideal choice for both novice and experienced bakers. Whether youre sharing it with friends or indulging in a piece yourself, this timeless treat is sure to bring joy and nostalgia to any occasion.
Ingredients:
- 2 cups granulated sugar
- 1/2 cup unsweetened cocoa powder
- 1/2 cup whole milk
- 1/4 cup unsalted butter
- 1 teaspoon vanilla extract
- 1/2 cup chopped nuts (optional, I love walnuts or pecans)
- Pinch of salt
Preparing the Fudge Mixture
1. **Gather Your Ingredients**: First things first, lets make sure we have everything we need. I like to lay out all my ingredients on the counter so I can easily grab them as I go. This helps keep the process smooth and enjoyable. 2. **Combine Dry Ingredients**: In a medium-sized saucepan, combine the granulated sugar, unsweetened cocoa powder, and a pinch of salt. Stir these dry ingredients together until they are well mixed. This step is crucial because it ensures that the cocoa powder is evenly distributed throughout the sugar. 3. **Add Milk and Butter**: Next, pour in the whole milk and add the unsalted butter to the saucepan. I usually cut the butter into smaller pieces to help it melt faster. 4. **Heat the Mixture**: Place the saucepan over medium heat. Stir the mixture continuously with a wooden spoon or a heat-resistant spatula. Its important to keep stirring to prevent the sugar from burning on the bottom of the pan. 5. **Bring to a Boil**: Once the mixture starts to heat up, youll notice it bubbling. Keep stirring until it reaches a full rolling boil. This usually takes about 5-7 minutes. You want to make sure its boiling vigorously before moving on to the next step. 6. **Cook to Soft Ball Stage**: After reaching a boil, let it cook without stirring for about 4-5 minutes. Youre aiming for the soft ball stage, which is around 234°F (112°C). If you dont have a candy thermometer, you can test it by dropping a small amount of the mixture into a glass of cold water. If it forms a soft ball that you can easily squish between your fingers, youre good to go!Finishing the Fudge
7. **Remove from Heat**: Once youve reached the soft ball stage, carefully remove the saucepan from the heat. Be cautious, as the mixture will be extremely hot. 8. **Add Vanilla and Nuts**: Stir in the vanilla extract and, if youre using them, the chopped nuts. This is where the fudge starts to take on that delicious flavor. I love the crunch that nuts add, but if you prefer a smoother fudge, feel free to skip this step. 9. **Beat the Mixture**: Now comes the fun part! Using a wooden spoon, beat the fudge mixture vigorously for about 5-10 minutes. Youll notice it starting to thicken and lose its glossy sheen. This step is essential for achieving that perfect fudge texture. 10. **Prepare the Pan**: While youre beating the fudge, prepare an 8×8 inch square baking pan by lining it with parchment paper or greasing it lightly with butter. This will make it easier to remove the fudge once its set. 11. **Pour into the Pan**: Once the fudge has thickened and is no longer shiny, pour it into the prepared pan. Use a spatula to spread it evenly, making sure it fills the corners of the pan. 12. **Let it Set**: Allow the fudge to cool at room temperature for about 2-3 hours, or until its completely set. If youre in a hurry, you can place it in the refrigerator to speed up the process, but I prefer to let it set naturally for the best texture.Cutting and Storing the Fudge
13. **Cut the Fudge**: Once the fudge is set, lift it out of the pan using the parchment paper. Place it on a cutting board and use a sharp knife to cut it into squares. I usually cut mine into 1-inch pieces, but you can make them as big or small as you like! 14. **Store the Fudge**: To store your delicious homemade fudge, place the pieces in an airtight container. It can be kept at room temperature for about a week, or in the refrigerator for up to two weeks. If you want to keep it longer, you can freeze it for up to three months. Just make sure to separate the layers with parchment paper to prevent sticking. 15. **Enjoy**: Now that youve made your old-fashioned fudge, its time to
Conclusion:
In summary, this Old Fashioned Fudge recipe is an absolute must-try for anyone who loves a rich, creamy treat that brings back nostalgic memories of simpler times. The combination of chocolate, butter, and sugar creates a melt-in-your-mouth experience that is hard to resist. Plus, the process of making fudge is not only enjoyable but also a great way to bond with family and friends in the kitchen. For serving suggestions, consider cutting the fudge into bite-sized squares and presenting them on a decorative platter for a delightful dessert at your next gathering. You can also experiment with variations by adding nuts, dried fruits, or even a sprinkle of sea salt on top for an extra flavor kick. If you’re feeling adventurous, try incorporating different types of chocolate, like white or dark chocolate, to create your own unique twist on this classic treat. I encourage you to give this Old Fashioned Fudge recipe a try and share your experience with me! Whether you stick to the traditional method or add your own flair, I would love to hear how it turns out. Dont forget to snap a picture and share it on social medialets spread the joy of homemade fudge together! Happy cooking! PrintOld Fashioned Fudge: A Timeless Recipe for Sweet Indulgence
- Total Time: 30 minutes
- Yield: 36 pieces 1x
Description
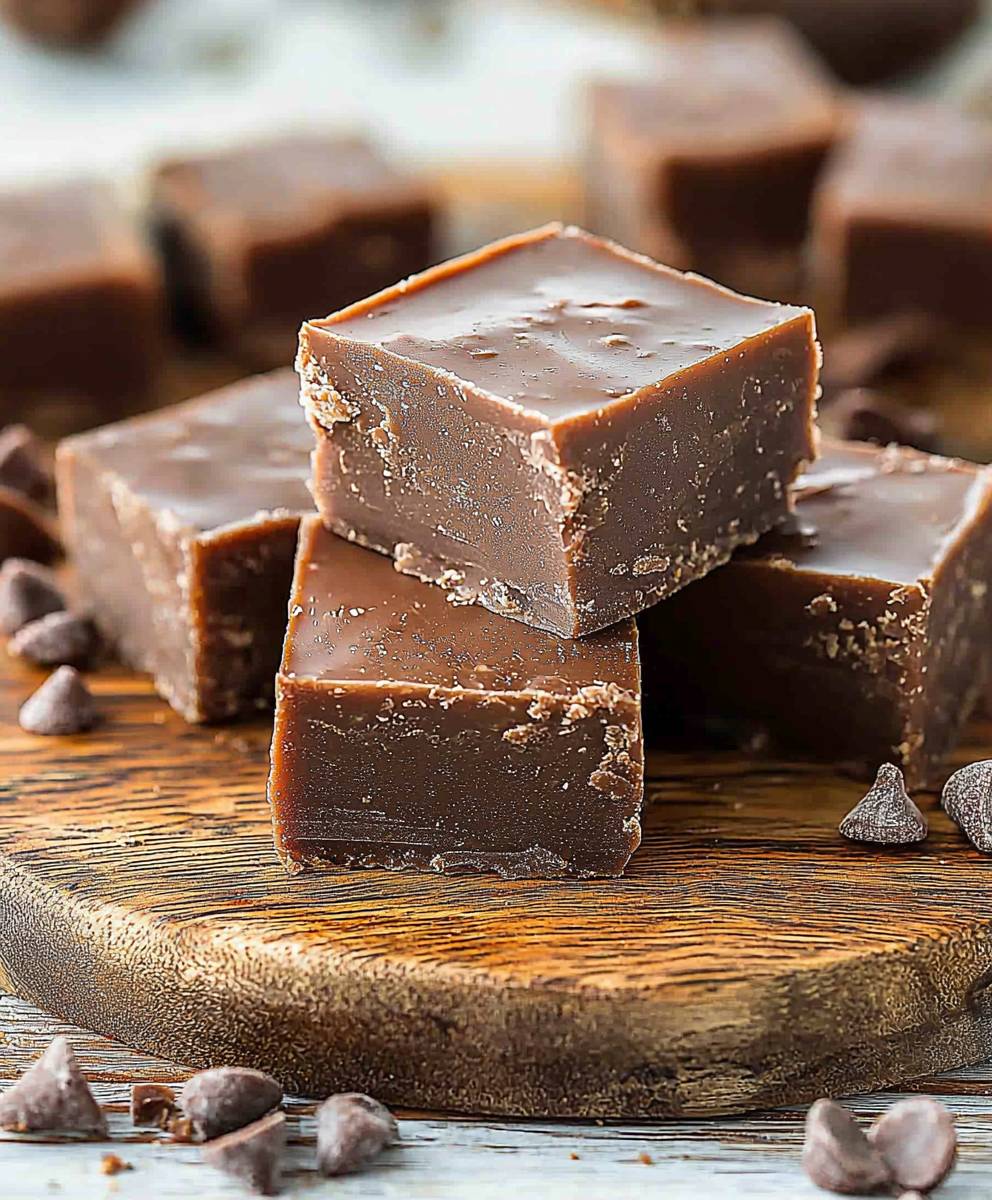
Enjoy the delightful taste of homemade old-fashioned fudge, featuring a perfect blend of chocolate and sweetness. This creamy treat can be customized with crunchy nuts for added texture, making it ideal for sharing or indulging on your own!
Ingredients
- 2 cups granulated sugar
- 1/2 cup unsweetened cocoa powder
- 1/2 cup whole milk
- 1/4 cup unsalted butter
- 1 teaspoon vanilla extract
- 1/2 cup chopped nuts (optional, walnuts or pecans recommended)
- Pinch of salt
Instructions
- Gather Your Ingredients: Lay out all your ingredients on the counter for easy access.
- Combine Dry Ingredients: In a medium-sized saucepan, mix together the granulated sugar, cocoa powder, and a pinch of salt until well combined.
- Add Milk and Butter: Pour in the whole milk and add the unsalted butter, cutting the butter into smaller pieces for quicker melting.
- Heat the Mixture: Place the saucepan over medium heat, stirring continuously to prevent burning.
- Bring to a Boil: Once bubbling, continue stirring until it reaches a full rolling boil (about 5-7 minutes).
- Cook to Soft Ball Stage: Let it cook without stirring for 4-5 minutes until it reaches the soft ball stage (234°F or 112°C).
- Remove from Heat: Carefully take the saucepan off the heat.
- Add Vanilla and Nuts: Stir in the vanilla extract and optional chopped nuts.
- Beat the Mixture: Beat the fudge mixture vigorously with a wooden spoon for 5-10 minutes until it thickens and loses its glossy sheen.
- Prepare the Pan: Line an 8×8 inch square baking pan with parchment paper or grease it lightly with butter.
- Pour into the Pan: Pour the thickened fudge into the prepared pan, spreading it evenly.
- Let it Set: Allow the fudge to cool at room temperature for 2-3 hours, or refrigerate to speed up the process.
- Cut the Fudge: Once set, lift the fudge out of the pan and cut it into squares.
- Store the Fudge: Store in an airtight container at room temperature for a week, in the refrigerator for two weeks, or freeze for up to three months.
- Enjoy: Savor your delicious homemade fudge!
Notes
- For a smoother fudge, omit the nuts.
- Ensure to beat the fudge until it thickens for the best texture.
- Use a candy thermometer for precise cooking.
- Prep Time: 15 minutes
- Cook Time: 15 minutes


Leave a Comment